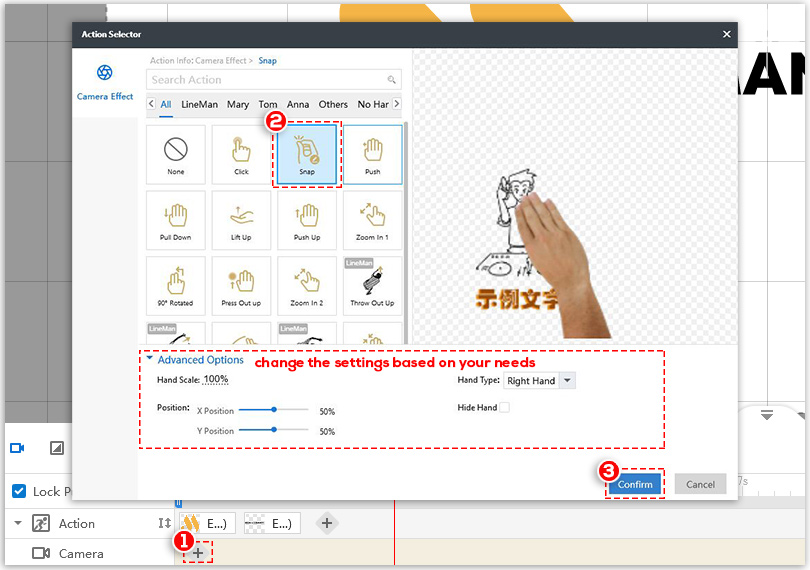
Camera effect is of great significance in making awesome animated videos. There are 3 ways for you to add camera effect in Mango Whiteboard Animation Maker.
Add camera effect
1) Click “+” on the Camera Timeline > choose a camera effect in the pop-up window > change the settings in the “Advanced Options” based on your needs > Click “Confirm”
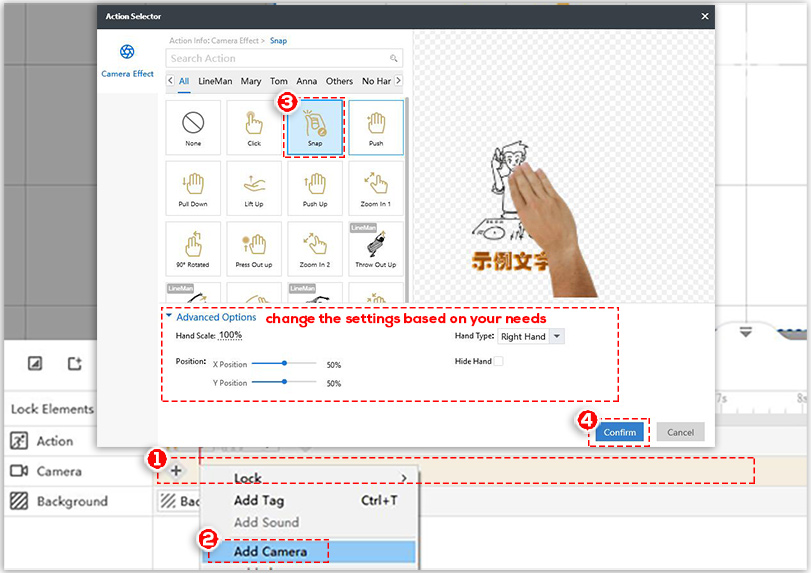
2) Right click anywhere on the Camera Timeline > click “Add Camera” > choose a camera effect in the pop-up window > change the settings in the “Advanced Options” based on your needs > Click “Confirm”
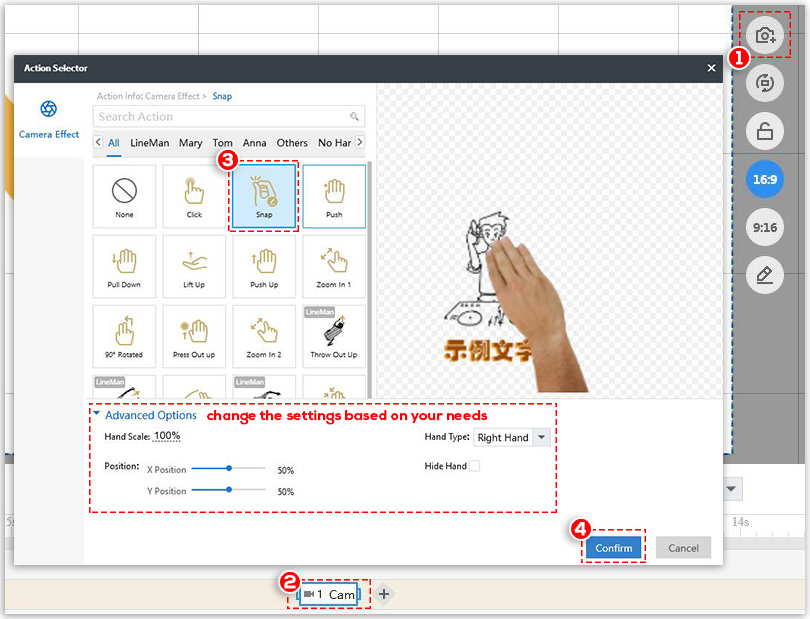
3) Click the “Add Camera” icon next to canvas (Then a new Camera will be added on the Camera Timeline.) > right click the new Camera and click “Edit Camera” (or simply double click the new Camera) > choose a camera effect in the pop-up window > change the settings in the “Advanced Options” based on your needs > Click “Confirm”
Note: You can hover over each of the effects to preview before selecting a camera effect.
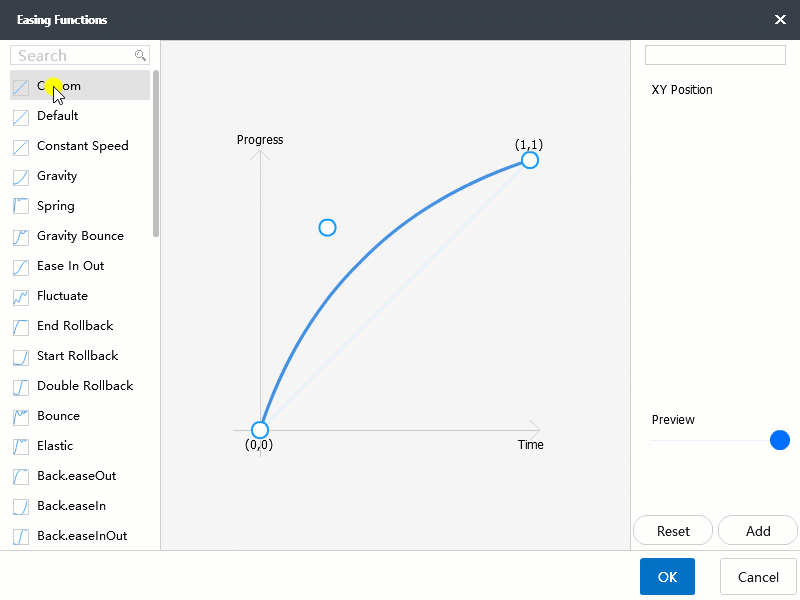
Change easing function (It works when the camera effect is “None”.)
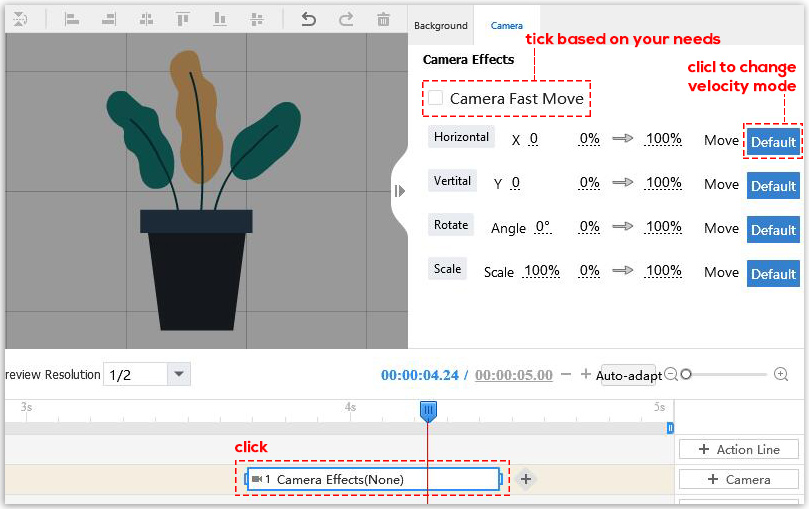
Click the Camera you added on timeline, then you can change the easing function in the right-side toolbar to fit your needs.
Easing functions provided:
Note: When you tick “Camera Fast Move”, the camera will move to the next camera in no time and other easing functions will be disable.
Before you change the easing function, you should move, rotate or scale the camera accordingly.